Flooring installation is one of those trades where the material choice — wide-plank white oak, solid walnut, or luxury vinyl plank (LVP, a multi-layer synthetic flooring that looks like wood but installs differently) — doesn’t matter much if the substrate prep and tool execution are sloppy. A board-foot (one square foot of lumber one inch thick, the standard unit lumber dealers use to price material) of figured walnut deserves better than a nailer set at the wrong pressure or a saw without a proper zero-clearance fence. If you’re mid-project or under contract for a significant install, the tool question lands early and it lands hard: buy, rent, or piece together what’s already in the shop? This guide breaks down the full professional kit for both solid hardwood and LVP, compares where the two formats diverge, names the tradeoffs explicitly, and closes with a decision framework for matching your kit to your actual job scope.
| EDITOR'S PICK[QWORK Hardwood Flooring Jack](https://www.amazon.com/dp/B0CC9FSM49?tag=greenflower20-20) | Mid-tier[Roberts Pro Flooring Installati…](https://www.amazon.com/dp/B07W885TT2?tag=greenflower20-20) | Budget pick[NAACOO Laminate Flooring Tools](https://www.amazon.com/dp/B0CJRHB2JX?tag=greenflower20-20) | |
|---|---|---|---|
| Kit includes | Flooring jack and positioning tool | — | Tapping block, pull bar, spacers, contour gauge |
| Multi-purpose | ✗ | — | ✓ |
| Ratcheting mech. | ✓ | — | — |
| Contour gauge | ✗ | — | ✓ |
| Price | $52.97 | $41.49 | $25.99 |
| See on Amazon → | See on Amazon → | See on Amazon → |
The Core Kit: What Every Hardwood Install Needs Regardless of Format
Whether you’re laying solid red oak at $4/sq ft or wide-plank European white oak pushing $18/sq ft, the foundational tool set is the same. Skimping at this level is where callbacks happen.
Moisture meter. The National Wood Flooring Association’s Installation Guidelines state clearly that solid hardwood must acclimate to within 2–4% of the subfloor’s moisture content before installation, and engineered hardwood within 4%. A pin-type or pinless meter — pin meters drive small electrodes into the wood surface for a direct reading; pinless meters use radio frequency to scan a wider area without marking the surface — is not optional. Pros carry both types: pin meters for spot verification, pinless for fast scanning of a full room. For premium species like quartersawn white oak (cut radially from the log so growth rings run nearly perpendicular to the face, producing that fleck pattern and dimensional stability), getting this wrong is a $10,000 mistake.
Flooring nailer / stapler (pneumatic). The workhorse of solid hardwood installation. A pneumatic (air-powered) cleat nailer drives L-shaped metal cleats through the tongue of each board and into the subfloor at an angle, locking the board without face-nailing. Most solid hardwood between ¾” and 5/8” thick is nailed this way. Rental runs $40–$60/day at most equipment centers; purchase price for a professional-grade unit lands between $300–$600 depending on the manufacturer. Fine Woodworking’s coverage of fastener selection notes that cleat nailers are preferred over staple nailers for wide-plank solid hardwood because cleats allow micro-movement as the wood expands seasonally — staples can split boards over 4” wide in low-humidity environments.
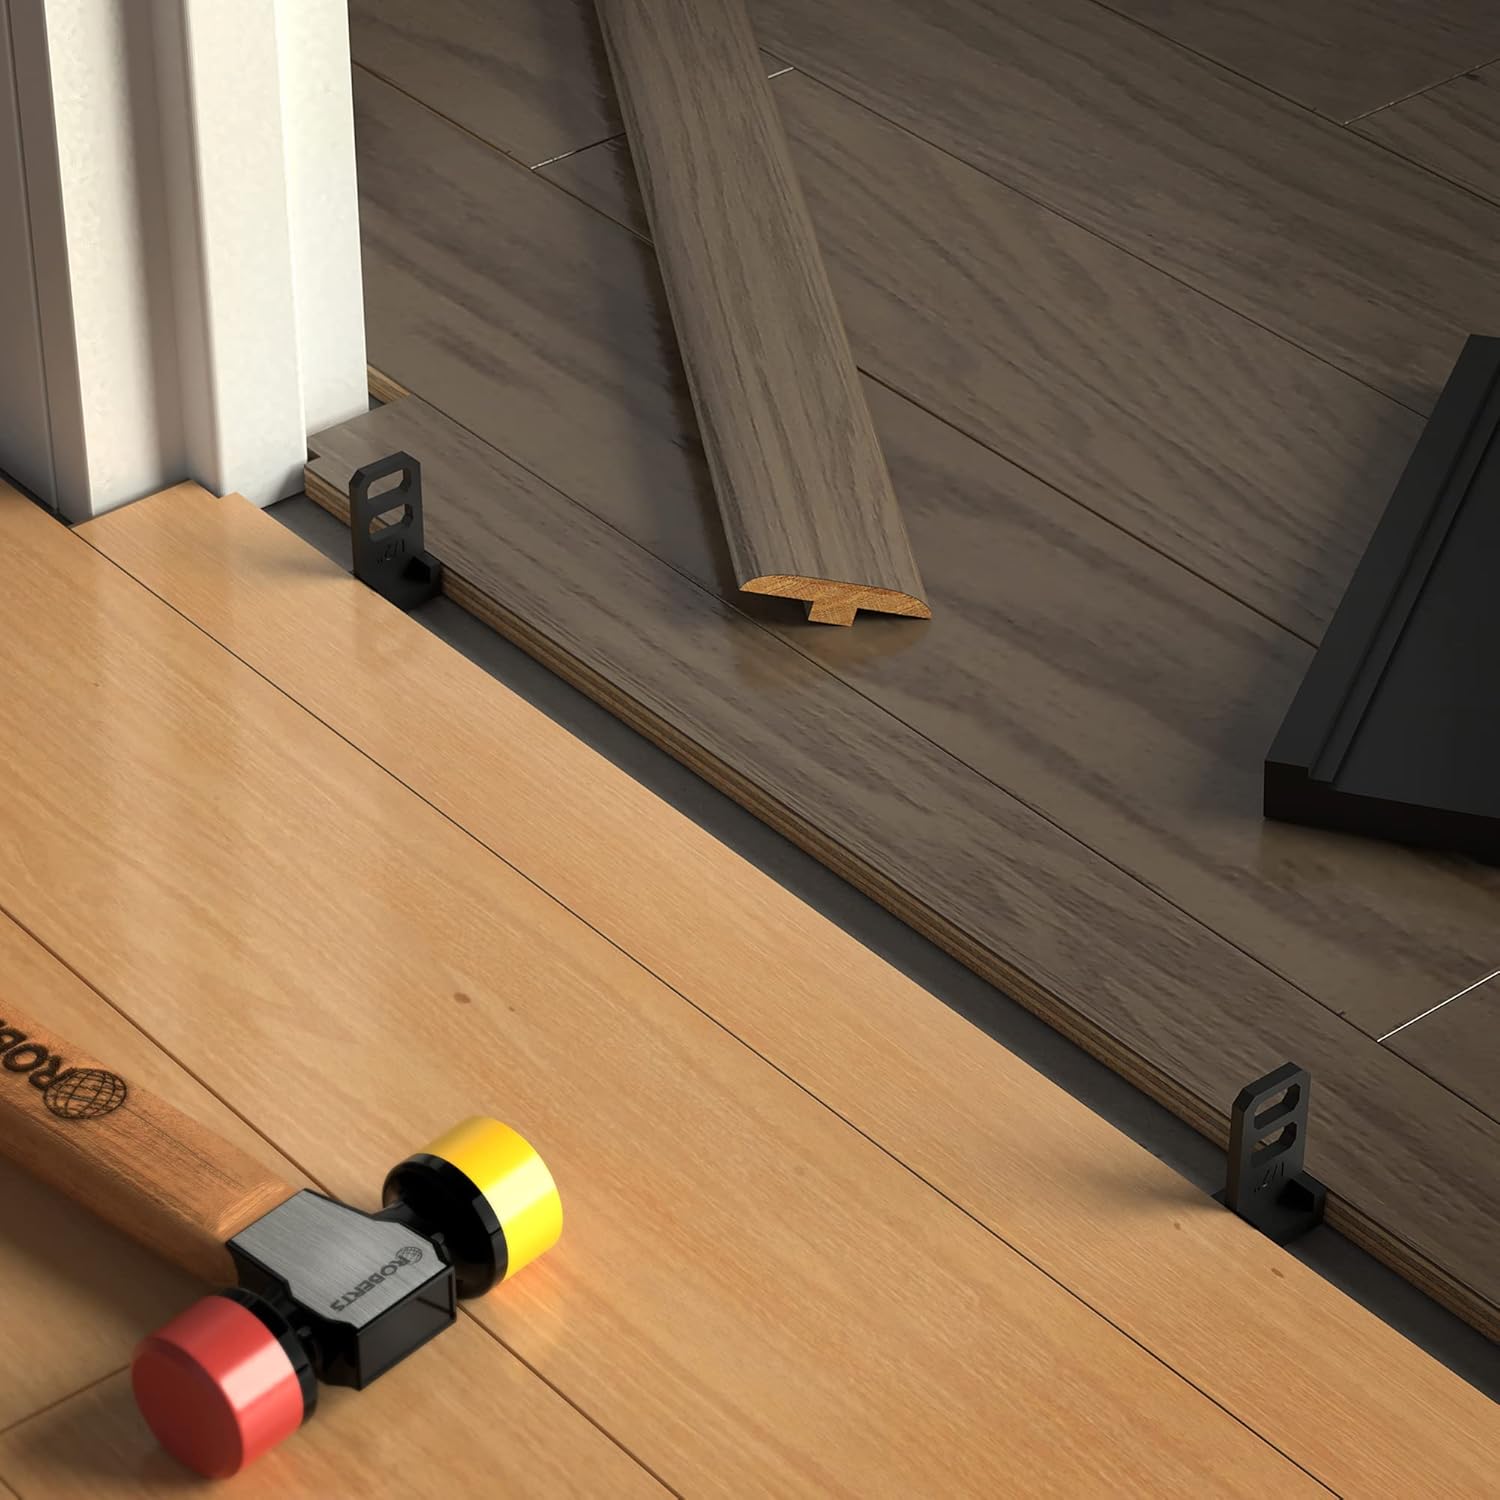
Pull bar and tapping block. Both protect the tongue-and-groove joint when hand-seating boards near walls. A pull bar hooks over the last board’s edge so you can hammer from the room’s center; a tapping block buffers the mallet strike along the length. Inexpensive ($10–$20 for a set), universally needed, universally lost at the bottom of every tool bag.
Circular saw or miter saw with flooring blade. A fine-tooth blade (60–80 tooth for hardwood) prevents tearout on rip cuts. For diagonal or feature-strip layouts, a miter saw handles angle cuts cleanly. This Old House’s installation guidance consistently recommends a carbide-tipped combination blade rated for hardwood as the minimum — cheap general-purpose blades produce tearout on oak and cherry that shows at every wall cut.
Chalk line and speed square. Establishing a straight starter row is the most consequential decision of the install. A chalk line snapped parallel to the longest unobstructed wall defines the visual axis of the entire floor. Every subsequent row references it.
Pry bar, pull bar, and rubber mallet. Pry bars remove damaged boards for repairs; rubber mallets drive boards home without marring the surface.
Where LVP Diverges: The Floating-Floor Toolkit
LVP (luxury vinyl plank) floats — meaning it’s not fastened to the subfloor but interlocks and rests on top of it, held in place by its own weight and perimeter expansion gaps. That changes the tool set materially.
You don’t need a pneumatic nailer for LVP. This is the single biggest cost difference between the two install types. The floating-floor method means no compressor, no nailer rental, no cleat supply run. Wood Magazine’s LVP-versus-hardwood comparison notes this is why LVP is increasingly specified in renovation scenarios where reducing subfloor punctures matters (like over radiant heat systems or concrete slabs).
What you do need for LVP:
- Utility knife or LVP-specific scoring tool. Most LVP can be cut by scoring and snapping — no power saw needed for straight cuts. A heavy-duty utility knife with fresh blades handles 95% of cuts.
- Jigsaw or oscillating multi-tool. For notching around door casings, toilet flanges, and HVAC vents where a straight score-and-snap won’t work.
- Spacers (1/4” or per manufacturer spec). LVP must have an expansion gap — the space between the flooring edge and the wall — to allow for thermal movement. Plastic spacers keep this consistent. Skipping them is the leading cause of LVP buckling, which Architectural Digest’s 2025–2026 flooring trend coverage identifies as the most common LVP complaint in online reviews.
- Pull bar and tapping block (same as hardwood). The tongue-and-groove click mechanism still needs hand-seating near walls.
- Underlayment and moisture barrier. Many LVP products come with underlayment pre-attached, but over concrete, a 6-mil poly vapor barrier (a plastic sheet that blocks moisture rising from below) is typically required in addition. Check the product spec sheet — skipping the required barrier voids most warranties.
The Tool Cost Decision: Buy, Rent, or Already Own?
By the Numbers
| Tool | Buy (Pro Grade) | Rent (per day) | DIY / Hobbyist Threshold |
|---|---|---|---|
| Pneumatic cleat nailer | $300–$600 | $40–$60/day | Worth buying at >400 sq ft/year |
| Moisture meter (pin/pinless combo) | $80–$200 | Not widely rented | Buy — always needed |
| Miter saw (10” compound) | $300–$700 | $50–$75/day | Rent under 1 job/quarter |
| Oscillating multi-tool | $80–$200 | $25–$40/day | Own if doing finish carpentry too |
| Full LVP float kit (spacers, pull bar, tapping block) | $20–$40 total | Often bundled with nailer rental | Buy — disposable cost |
For a single-room hardwood install under 500 sq ft, the rental math typically wins on the nailer. At two or more rooms per year — which describes most custom millwork shops and design-build contractors reading this — ownership pays back within the first season.
Species and Format Matching: When the Tool Choice Actually Changes
The material you’re installing should influence tool selection in ways that don’t always show up in generic how-to guides.
Wide-plank solid hardwood (5”+ face width) requires a cleat nailer, not a stapler. This is the Fine Woodworking guidance referenced above — and it matters specifically for the premium species this site’s readers are most likely to specify. Carlisle Wide Plank Floors’ installation documentation (publicly available via their dealer network) explicitly recommends cleats for planks over 4” wide. Staples in wide solid planks create stress concentrations that can cause face-checking (surface cracks) in low-RH winter conditions, particularly in figured or rift-sawn (cut at an angle between flat-sawn and quartersawn) material where the grain runs at variable angles.
Hand-scraped and wire-brushed surfaces need blade protection during cutting. The textured surface of hand-scraped walnut or white oak creates tearout risk at cut edges that a standard plywood blade amplifies. A fine-finish or hardwood-rated blade is non-negotiable here — the surface profile on premium boards costs money, and a ragged cut edge at a transition strip is visible.
FSC-certified exotics and reclaimed heart pine are often denser than domestic species. Ipe (a South American hardwood with a Janka rating — the measure of wood’s resistance to surface denting, tested by embedding a steel ball to a set depth — of around 3,500 lbf, versus red oak’s 1,290 lbf) will eat standard saw blades at twice the rate of domestic species. Carbide-tipped blades rated for hardwood are the baseline; owners of dedicated flooring companies working with ipe and Brazilian cherry consistently report running through blades 2–3x faster than on oak installs.
The Subfloor Question Most Tool Guides Skip
No kit is complete without the prep tools, and subfloor prep is where most callbacks originate. The NWFA’s Installation Guidelines specify that subfloors must be flat to within 3/16” over 10 feet for nail-down hardwood — a tolerance that requires a long straightedge (at least 8’) and a floor grinder or belt sander for high spots, and self-leveling compound for low spots.
For LVP over concrete, a long straightedge plus a moisture vapor emission rate (MVER) test kit rounds out the pre-install checklist. MVER testing (a standardized test where calcium chloride dishes are sealed to the slab surface for 72 hours to measure moisture emission) is the gating item for most LVP warranties over concrete, and its absence is the first thing a manufacturer’s warranty team looks for when a claim comes in.
The Decision Rule
If you’re mid-project, use this framework:
If you’re installing solid hardwood, 3/4” or thicker, over wood subfloor, any plank width: Rent or own a pneumatic cleat nailer. Buy a pin/pinless moisture meter combo. Use a fine-tooth carbide blade. No shortcuts on subfloor flatness.
If planks are 5” or wider, premium species, or the project includes figured or hand-scraped surfaces: Upgrade to a cleat nailer (not staple), invest in a 60-tooth or higher hardwood-rated blade, and budget extra time on acclimation — NWFA guidelines call for 3–5 days minimum, longer for wide planks in climates with large seasonal humidity swings.
If you’re installing LVP, floating format, over any subfloor: Skip the nailer entirely. Invest in a good moisture meter if over concrete, run the MVER test if the slab is new or in a wet climate, buy the spacer kit, and keep the utility knife blade count high. The whole kit outlay should run under $100 if you already own a jigsaw.
If you’re doing both formats across multiple rooms: Buying the cleat nailer crosses the cost threshold within a single multi-room project. The LVP tools are inexpensive enough to own regardless. The moisture meter is the one tool that belongs in every installer’s bag on every job, regardless of material.
The floor is the finish line of the whole project. Getting the tool selection right before the material is delivered is the difference between a clean install and a call-back — and on a $15,000 white oak floor, no one wants to find out which one they’ll get on day three.